Electric and Insulation
Basic electric upgrade
When I bought Serenity, she was well equipped, ready to sail and even more important, ready to be sailed single handed. But she was far from being capable to serve as a permanent residence and her electric system was weak and only suited for daycruises. Being at anchor for a night would surely drain all its power.
So my very first step, also because it sounded like the easiest of tasks, was to increase capacity and make sure that the batteries are kept charged at a healthy level and not suddenly drain to death while being away from the boat for a week or two. Replacing the old 45Ah led battery with two 95Ah AGM batteries was a good choice so far.
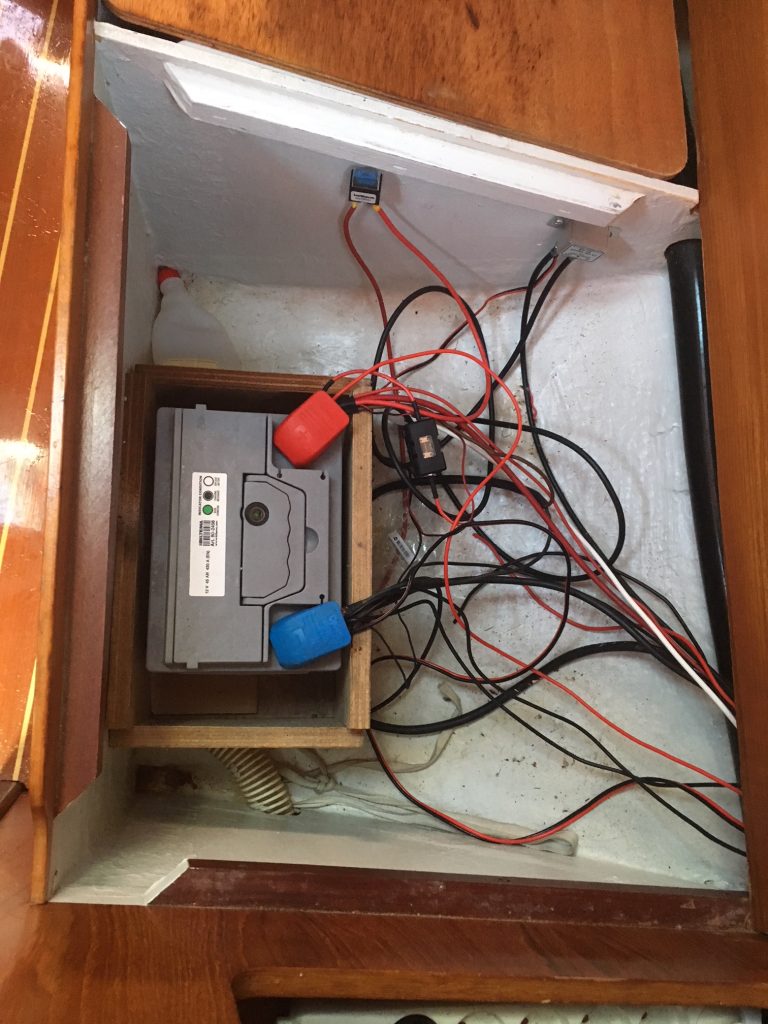
Before: 1 x 45 Ah led battery
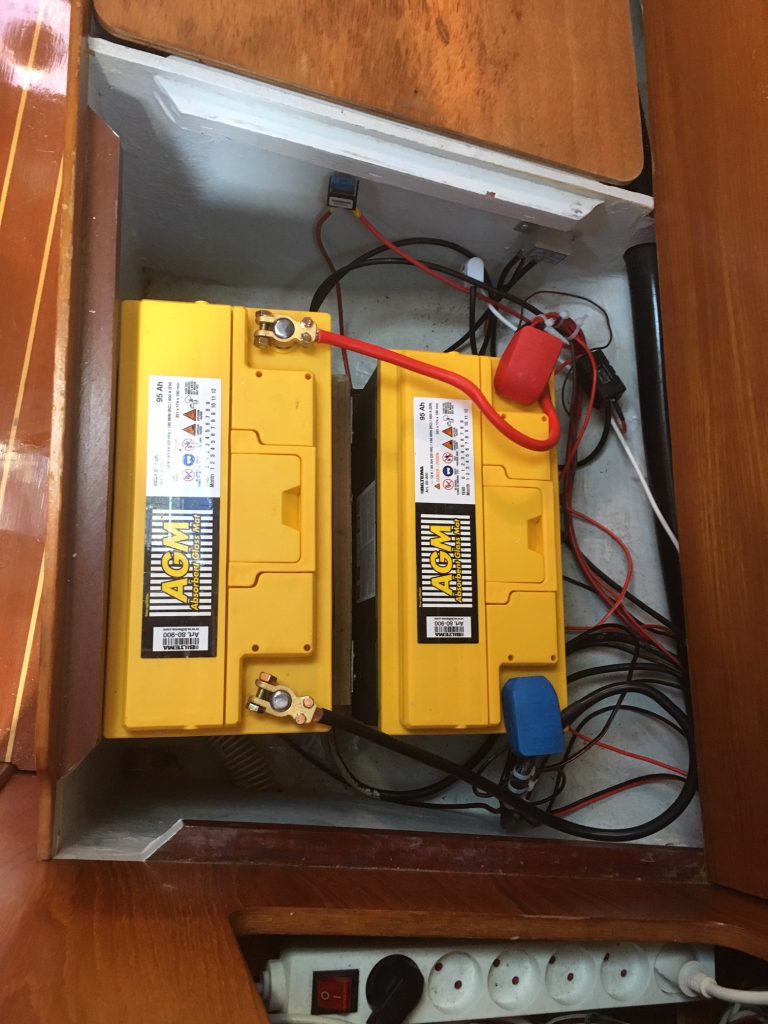
After: 2x 95 Ah AGM batteries
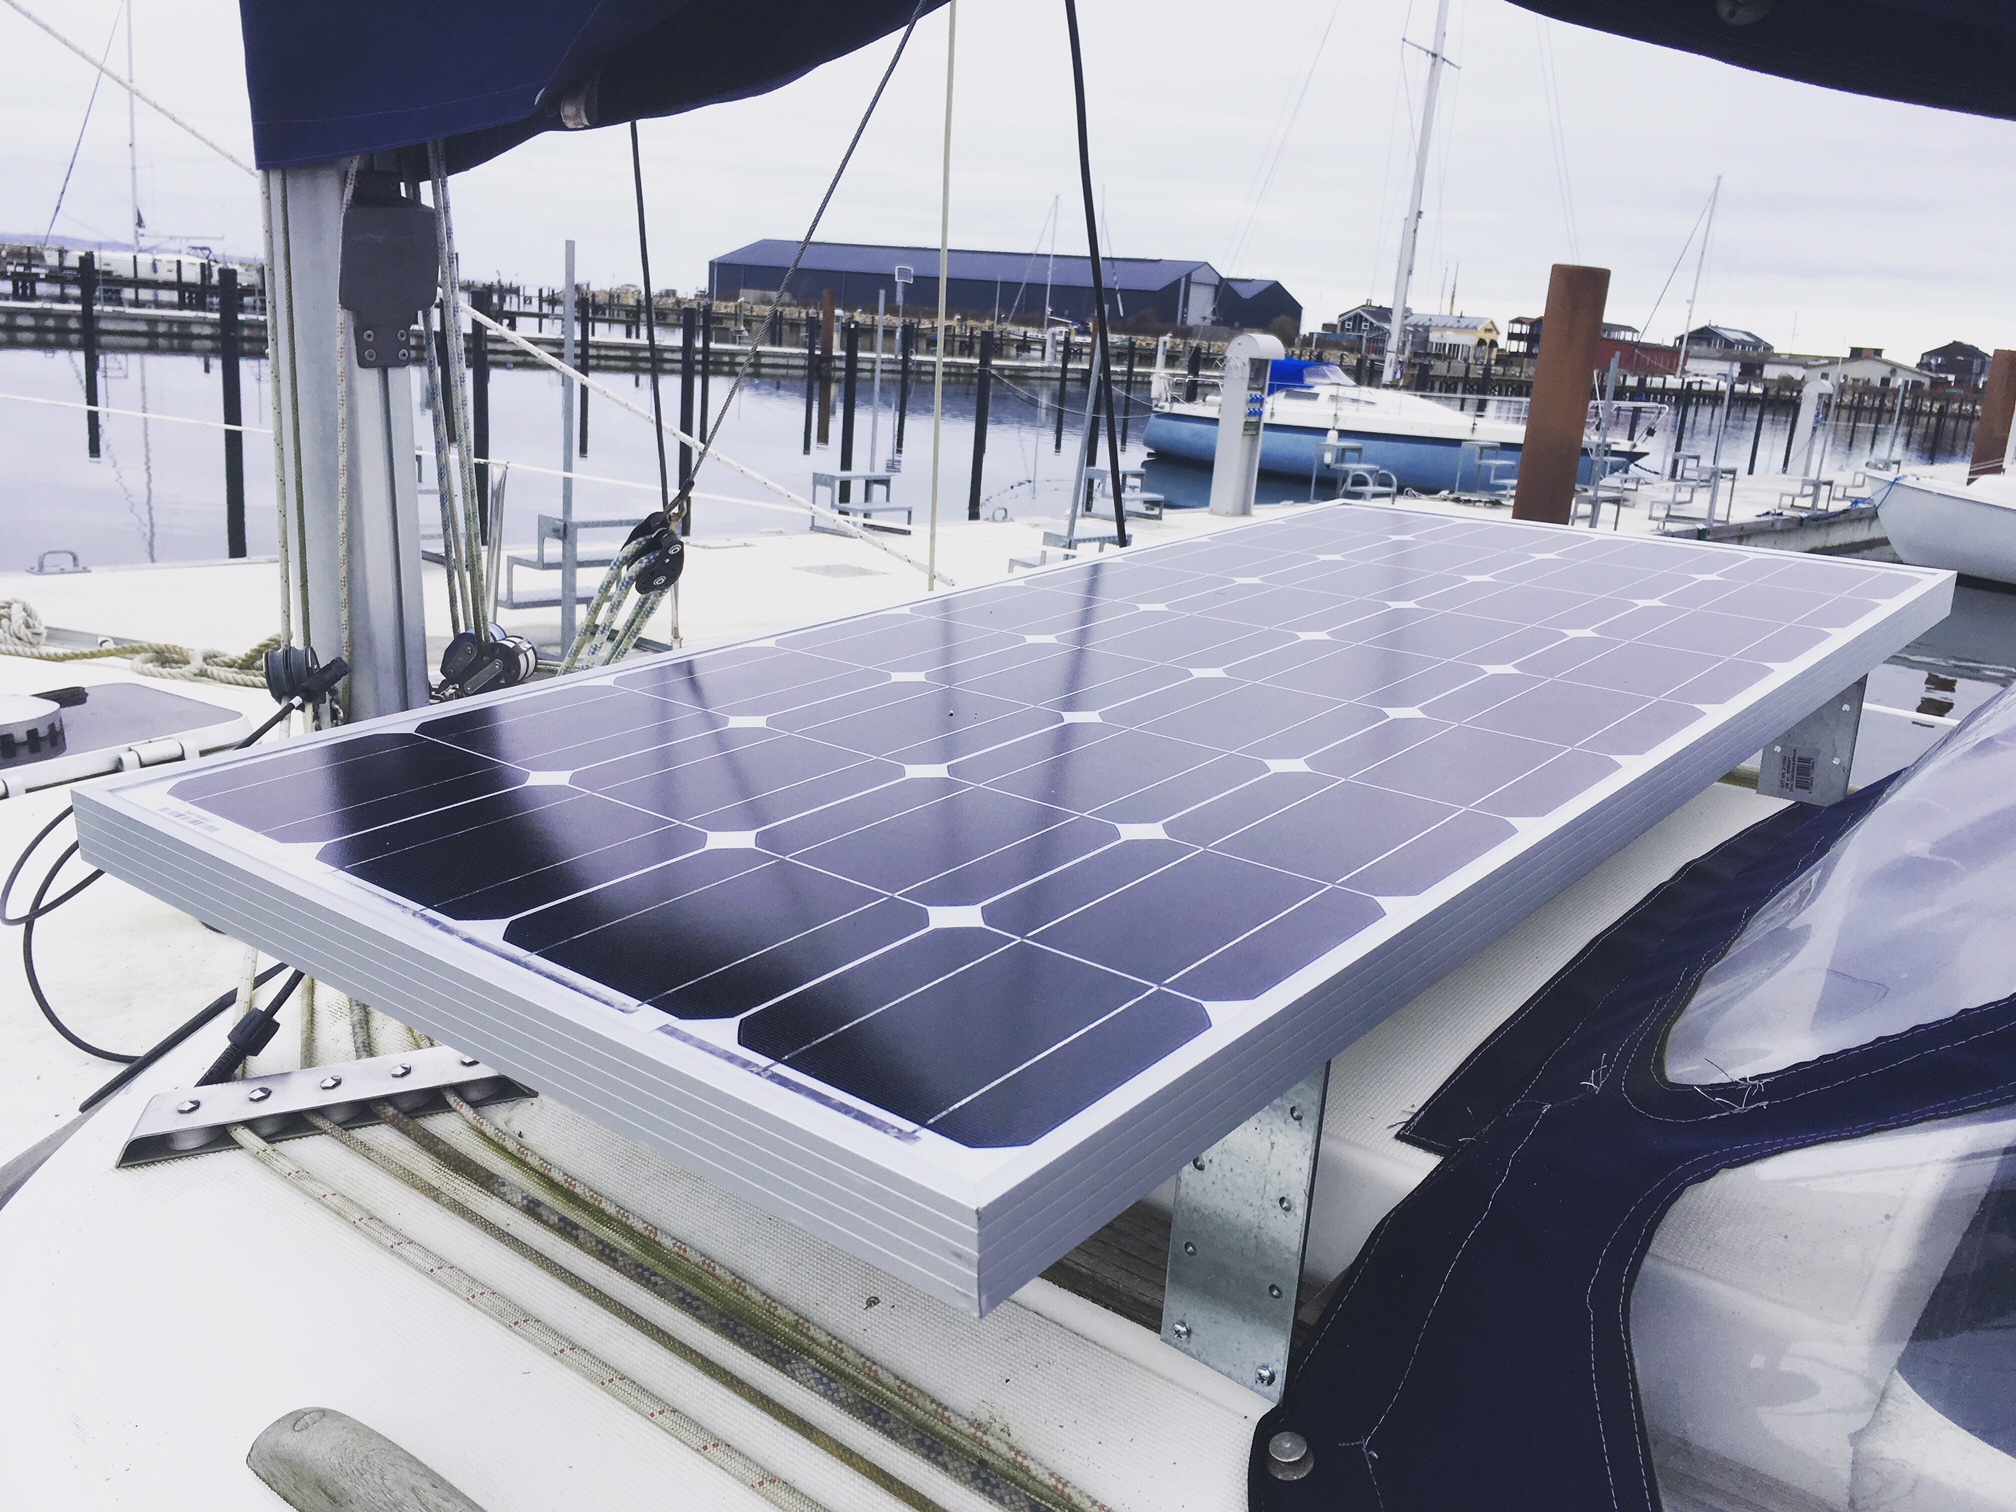
This was the easy task, tidying up the wires, cutting a new support out of wood and screw everything tight. How spiffy they look in their yellow dress! Nonetheless, I need some more alternative power sources to be independent from running the engine all the time or nibbling at the shore power. A wind generator Silentwind 400+ is on my shopping list but for now, a solar panel should do the job of keeping the batteries at a healthy level. Especially at the liveaboard stage before I hit the big oceans. I went for a cheap 160 € 100W monocrystal panel including a charger. It isindeed cheap and the charger is a PWT style which is inferior to a good MPPT charger but it does what it should and depending on the weather conditions, I get up to 50 amp hours of juice per day out of this panel. Not too shabby!
The solar panel is currently mounted under the boom on top of the companion way hatch, so during a cruise it doesn
‘t do me much good but while at anchor and in the marina, I can simply move the boom far enough to starboard or port that it does not cast any shadows during the sun rich hours of the day. A device carrier at the aft of the boat is planned for 2019 so the SilentWind, a radar and the solar panel will fit on top.
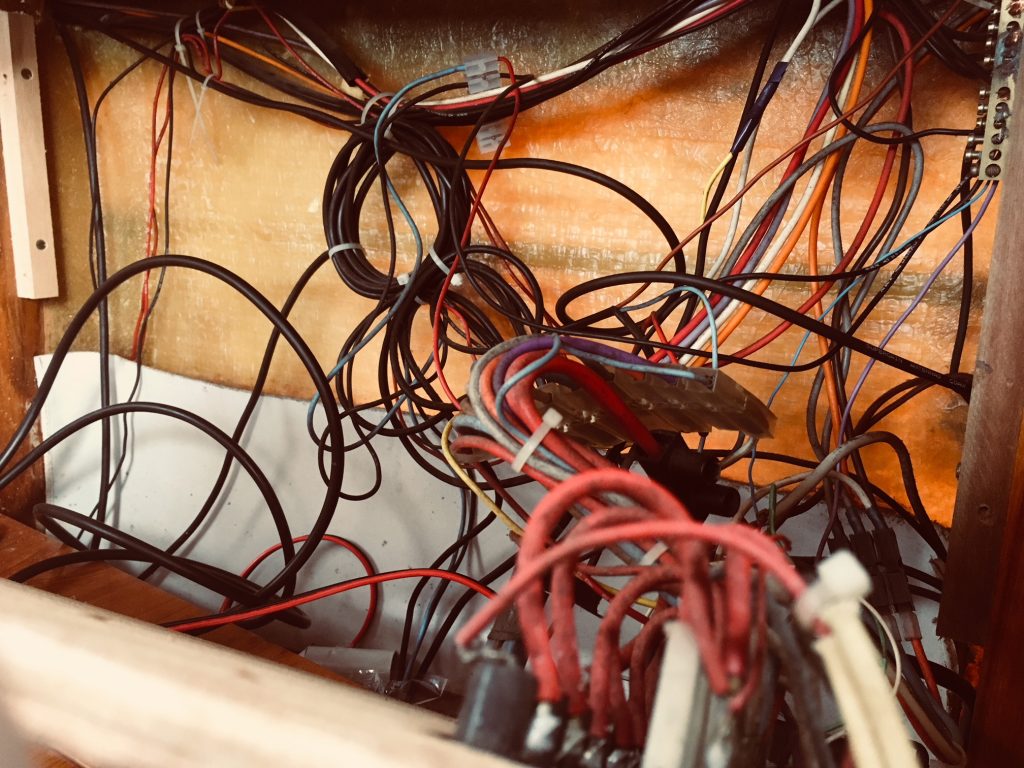
Surprise! This does look like some people worked on the power distribution before
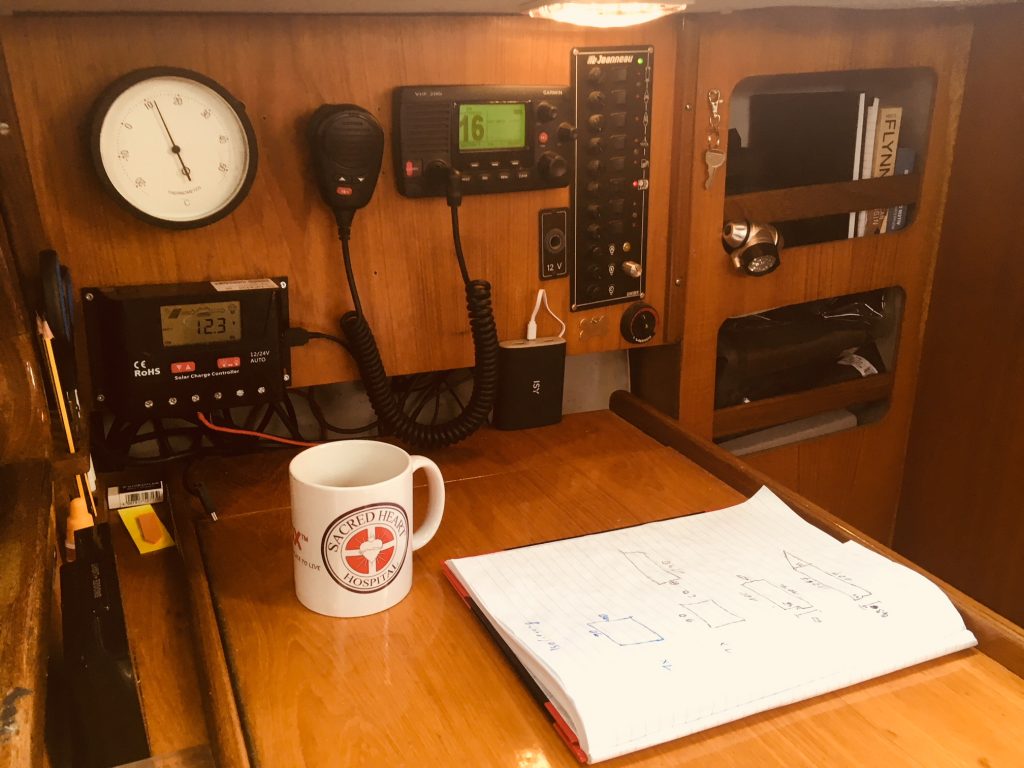
Solar charger installed and everything is working! Me master electrician! Well, not so much, but I learn more every time.
Insulation
One thing Serenity came a little short with was proper insulation. The 30 year old foam and fabric combination was ugly, in some places stained with black moldy spots and surely adding to the classic humid old boat smell. Here I went for the functional rather than the pretty solution, although the Armaflex grey does not look exceptionally bad. In fact, I like it. For insulation, I ripped all foam supported fabrix out of the boat which was quite easy as the glued foam instantly turned into powder when I touched it. My choice of insulation was ArmaFlex, a product from German Armacell and usually used for heavy duty industry insulation of heat pipes. The closed pore 10mm thick self adhesive foam was easy to cut and easy to put in place, I am really happy with how that turned out. It was just one day of work and the climate in the boat changed rapidly. My Webasto AirTop2000 does not fire non stop anymore and there is no signs of cold air running down the inside of the boat anymore. A little Tip if you are interested in getting ArmaFlex: ArmaFlex is often cheapest in Germany. If you live in Europe, check out isolierprofi.de, I could not find any cheaper source and you pay twice as much in Denmark.
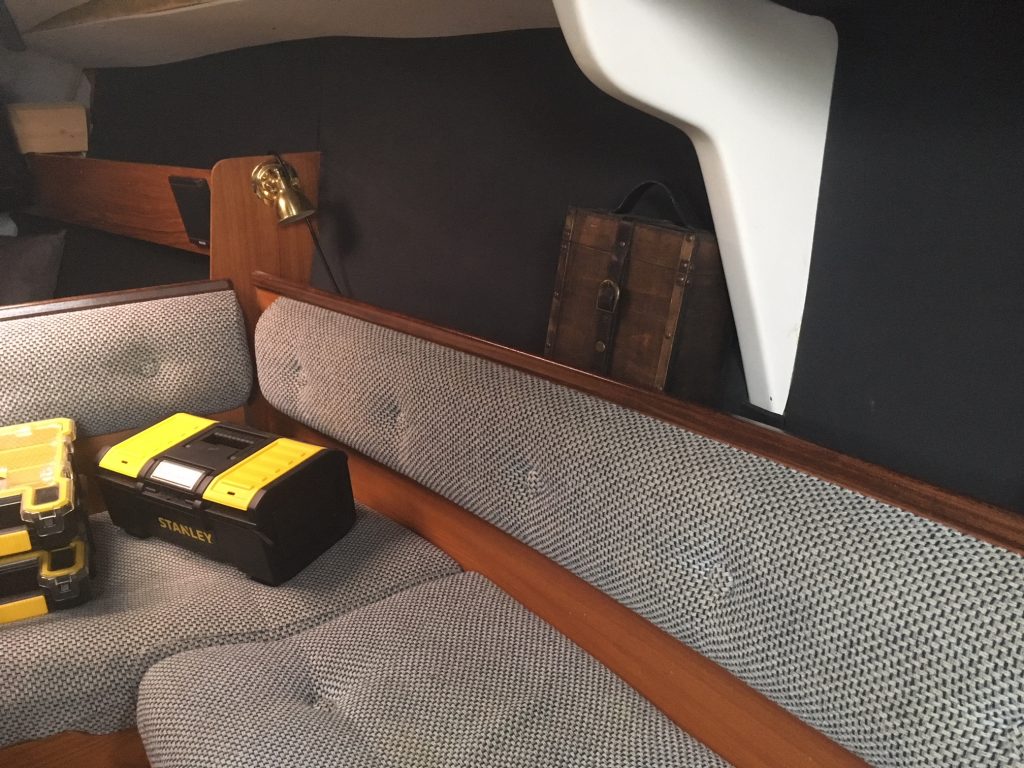
I have used 10m² of 10mm closed cell self adhesive ArmaFlex.
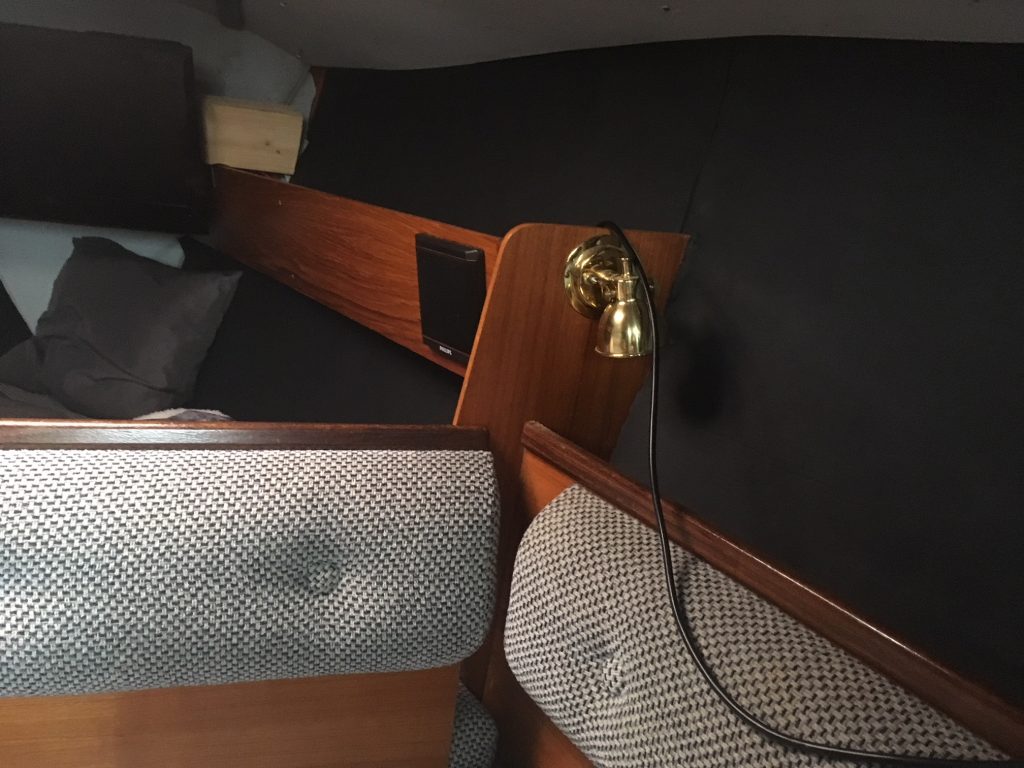
I am getting used to the look
While writing this post we have 8 degrees Celsius outside and it is very cosy in here. I forgot to measure the diesel consumption for heating before I did the insulation work so the only thing I have is my gut feeling, but I bet the invest of a good quality insulation makes me save money pretty fast.
Okay, time to move in!
You May Also Like
For clean oceans and beaches
10. October 2018
Back To Sailing
3. September 2022

